
Starting a shoe line is exciting, and we usually take 8 clear steps to go from idea to order.
Most teams go from concept to purchase order in about 10–16 weeks, and then bulk production usually takes 6–12 weeks depending on the style, season, and factory capacity.
In short, the roadmap looks like:
- Step 1: Market research – pick your customer and use case.
- Step 2: Design “specs” – create a clear tech pack.
- Step 3: Request quotes – send RFQs and shortlist factories.
- Step 4: Sampling – make and test fit samples.
- Step 5: Tooling & Pre-Production – build molds/lasts and approve a PP sample.
- Step 6: Production & Quality – run the order with ongoing QC.
- Step 7: Packaging & Compliance – pack the shoes and handle basic safety testing.
- Step 8: Ship & Launch – arrange shipping, list your shoes, and plan the reorder.
Step 1. Pick Your Direction: Market Research

First, define who your shoes are for and why they’ll wear them.
Are you designing for men, women, or kids? Will your shoes be worn daily for casual comfort, at work, or for outdoor or sports use?
Knowing your target customer helps you shape your design, pricing, and marketing later on.
Next, check demand signals.
You can use tools like Google Trends to compare a few product ideas — for example, “white sneakers” versus “leather loafers.” Look at which ones have consistent or growing search interest. Google Trends also shows seasonal patterns (like how “running shoes” spike every spring) and highlights top regions, so you know where potential buyers live.
Then, collect shopper keywords.
List 10–20 real phrases buyers might type into search engines — such as “comfortable work shoes,” “wide-fit sneakers,” or “vegan sandals.”
These keywords show what shoppers actually care about, and they help you spot trends or gaps in the market.
Next, map competitors and pricing.
Look up 5–10 similar brands or products online.
For each, check what their bestsellers are, read reviews to find customer pain points, and note their retail prices. This gives you a quick sense of where your shoe could fit — are you the affordable challenger, the design innovator, or the premium choice?
Finally, choose your channels and regions.
Decide where your target customers actually shop. Do they prefer online stores, specialty retailers, or marketplaces like Amazon?
Then narrow down which countries or regions to focus on. For example, if your trend data shows strong demand from the U.S. and Canada, that’s a smart place to start.
Market research might sound like extra work, but it saves time and money later by helping you make products people already want.
Step 2. Turn Ideas Into a Simple “Spec” (Tech Pack)

Once you’re clear on your direction, it’s time to create your tech pack — your shoe’s master blueprint. Think of it as a recipe that tells the factory exactly how to make your shoe.
A solid tech pack includes:
- Drawings or photos — clear front, side, back, and top views.
- Materials — list the materials for each part (upper, lining, midsole, outsole, etc.), plus color and supplier info. For example: upper: black leather (Cow leather #123), lining: nylon, outsole: white rubber.
- Size range & grading — note your size range (e.g., EU 36–45) and how sizes scale up or down.
- Construction notes — explain how the shoe is built (e.g., cemented cupsole sneaker or Goodyear-welted oxford).
- Branding — mark where your logo goes (tongue, heel, insole, etc.), and include label artwork.
- Packaging — describe the box or bag size, labeling, and any inserts or hangtags.
A clear tech pack cuts mistakes and makes it easier for factories to quote accurately. Without it, they might have to guess — and that’s when delays or misunderstandings happen.
Most founders take about 1–3 weeks to prepare a basic tech pack, though it’s faster if you start from a ready-made template. Having this document ready makes everything else — sampling, costing, and production — run much more smoothly.
Pro Tip: If you’re not sure where to start, check out tech pack templates and resources from professional shoemaking academies online, like Shoemaker Academy. These can save you hours of formatting and guessing.
Step 3. Get Quotes the Easy Way
Now it’s time for you to reach out to factories for quotes.
Start by preparing one clear RFQ package—this should include your tech pack, a simple Bill of Materials (BOM), your target price, quantity, and delivery timeline.
If you already know you’ll need tests like color rub or slip resistance, include that too. A complete and clear RFQ upfront helps factories give you faster and more accurate quotes.
Once the quotes come in, compare them side by side. Look at the basics—price, minimum order quantity (MOQ), lead time, sample cost, and payment terms—but also pay attention to how quickly and clearly each factory communicates.
A supplier that asks smart, specific questions is often the one that truly understands your project.
Expect this quote-comparison stage to take around one to two weeks from the day you send your RFQs to your final decision.
When shortlisting, it helps to understand country strengths:
- Vietnam has emerged as the go-to for athleisure and sports footwear – it led $27 b in global footwear exports in 2024.
- China is still the giant that can make almost any style (it exported $51.1 b in 2024).
- Indonesia is a powerhouse as well: it’s the world’s 4th-largest shoe producer, turning out over 1.3 b pairs a year (about $6.5 b in exports) for brands like Nike, Adidas, and Puma.
Learn more about the differences between sourcing in China and Vietnam in our guide:
For MOQs, most factories will expect at least a few hundred pairs per color or style.
For example, a casual PU sneaker might start at around 600–1,200 pairs per color, while more complex designs or premium materials may require higher minimums.
If all this sounds like a lot to handle—don’t worry.
Tristar can simplify the process by preparing your RFQ package, reaching out to verified factories, and comparing quotes for you.
That way, you can focus on building your brand while we make sure you get the right factory, the right price, and a smooth start to production.
Step 4. Make Samples You Can Wear

Before you place a bulk order, you’ll start by making samples.
Expect at least three rounds — a first prototype, one or two improved versions, and then a final approved sample.
Each time the factory sends a sample, test it like your future customers would. Try it on, walk around, and pay attention to the details:
Does it fit true to size? Are there any tight spots or pressure points? Does the sole bend naturally when you walk? How’s the weight? Check the glue lines, stitching, and color to be sure everything looks clean and matches your expectations.
A good tip is to do a mini wear test — have a few people wear the shoes for a day and note how they feel.
Their feedback will help you spot issues early, like heel slipping or tight toes. Each sample round usually takes 2–4 weeks, plus shipping time. It may seem slow, but this is where great fit and comfort are born — and where strong brands stand out.
Step 5. Lock It In: Tooling & Pre-Production (PP)

Once your final sample fits and feels perfect, it’s time to move into tooling and pre-production.
Tooling means creating the molds for the soles, cutting dies for each upper piece, and the lasts — the foot-shaped forms that define your shoe’s fit. Be sure to agree in writing who owns these tools (it’s usually the brand).
That way, you can reorder or switch factories in the future without starting from zero.
After tooling (which usually takes 2–4 weeks), your factory will build a PP sample — a pre-production pair made with the real materials on the actual line.
Review it carefully, make final tweaks, and give written approval. This version becomes the blueprint for every pair that follows.
Step 6. Make It Right: Production & Quality Checks

Now you’re ready for bulk production — the most exciting and nerve-wracking stage.
Factories usually work in batches by color or size. It’s smart to have a simple quality plan: check a few pairs early in production, some in the middle, and then again before shipment.
Watch for the essentials — strong glue bonds, clean stitching, even colors, and matching left-right pairs. Confirm that size labels and branding are all correct.
For example, Tristar uses a three-stage QC process: inspecting materials before production, checking stitching during assembly, and doing a final review before shipment. Even if you’re not on-site, you can hire a trusted inspection agent to do the same.
Production time usually takes 6–12 weeks, depending on the season and factory load. Stay in touch with your factory — regular updates keep surprises to a minimum and timelines on track.
Step 7. Box It Smart: Packaging & Basic Compliance
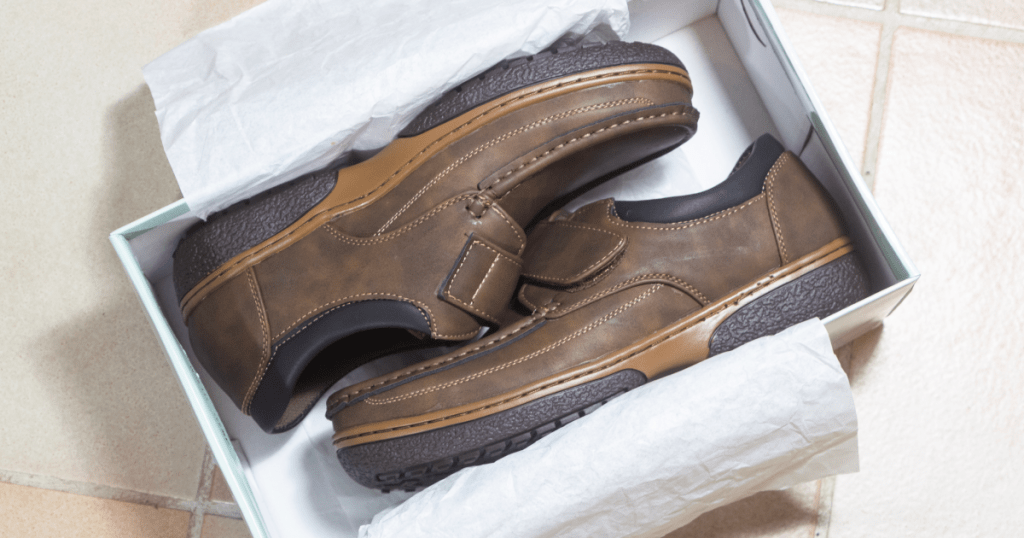
While your shoes are being made, plan how they’ll travel and arrive.
Start with sturdy packaging — boxes or poly bags that protect during shipping and still look great when unboxed. Make sure each box includes the correct size, style, and required labels (like country of origin or material info). Add a touch of branding — tissue paper, hangtags, or inserts — to make your unboxing experience feel premium.
Then think about compliance.
Each market (U.S., EU, etc.) has simple but important safety rules. For instance, both regions limit certain chemicals like lead or cadmium in footwear.
You can check with your factory or a testing lab to confirm which tests apply — usually colorfastness, heavy metals, or flammability for kids’ shoes.
These tests typically take 1–3 weeks and can happen while production wraps up, so you stay on schedule. Compliance might sound intimidating, but once set up, it’s a smooth part of your regular process.
Step 8. Ship & Launch (and Plan the Reorder)

The final step — shipping and launching your brand.
You’ll choose between ocean freight (cheaper but slower, about 2–6 weeks) or air freight (fast, 3–7 days but pricier).
Ocean is perfect for big orders planned in advance, while air helps you restock fast or meet a launch deadline.
While your shipment is on the way, start preparing your launch materials: great product photos, detailed listings, and a simple rollout calendar for emails, ads, or social posts.
And here’s a pro move — plan your next order before your first sells out. If your sales forecast says stock will run out in three months and the lead time is four, place the reorder early. It’s how successful brands keep momentum and never go “out of stock.”
Ready to Build Your Shoe Line Without the Hassle?
Starting a shoe business is exciting—but managing samples, tooling, QC, and shipping can feel overwhelming. You don’t have to do it alone.
Tristar helps you move smoothly from idea to production-ready. We’ll guide you through construction choices, sourcing countries, MOQs, and timelines—so you can focus on growing your brand, not chasing factories.
We’ll review your design, confirm the best sourcing plan, and share an RFQ checklist to get you started. Everything stays confidential—NDAs included.
Whether you’re sketching your first pair or scaling your label, Tristar makes production easier, faster, and stress-free—so you can see your shoes on shelves sooner.